Poet and the Pendulum and Capture
Posted on in Lighting
A write-up of my lighting design project of lighting Nightwish's “Poet and the Pendulum”. See the final video below.
Concept
During the Lock Down in South Africa I came up with the idea to try and light a song by one of my favourite artists, Nightwish. In particular I wanted to work on one of their longer orchestral-heavy pieces. In the end I chose “Poet and the Pendulum” (Dark Passion Play, 2007) as it was the first piece I had heard from the band and immediately captured my interest. The song is 13 minutes, 54 seconds and is split into five parts — White Lands of Empathica, Home, The Pacific, Dark Passion Play and Mother and Father.
My goal was to create a live show-like experience from the visualisation since during this time there were no shows or gatherings allowed. I decided to use this opportunity as a way to experiment and explore utilising the tools I had at my disposal namely Capture and a Chamsys MagicQ console.
Stage Design
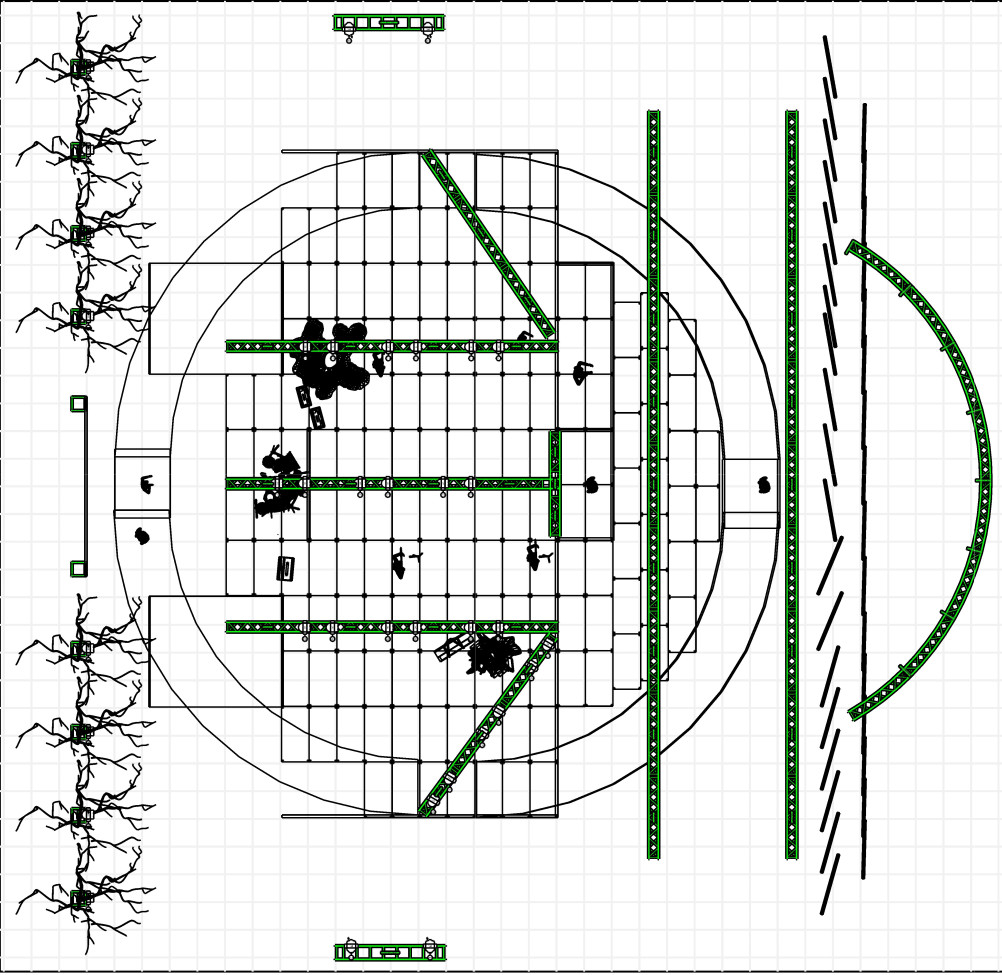
I took an existing CAD model of a venue we work at often and used that as the base for the show.
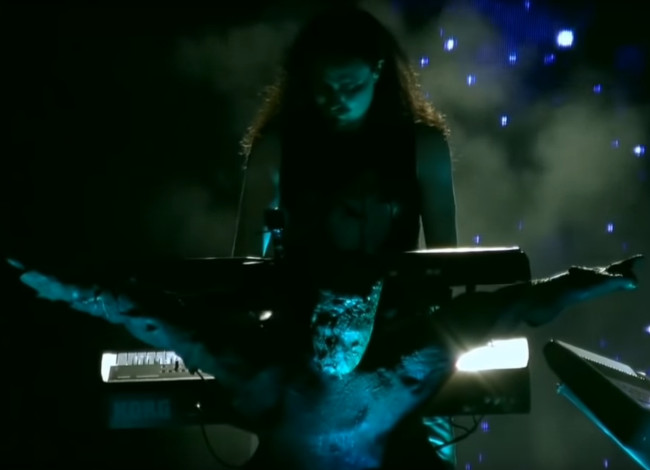
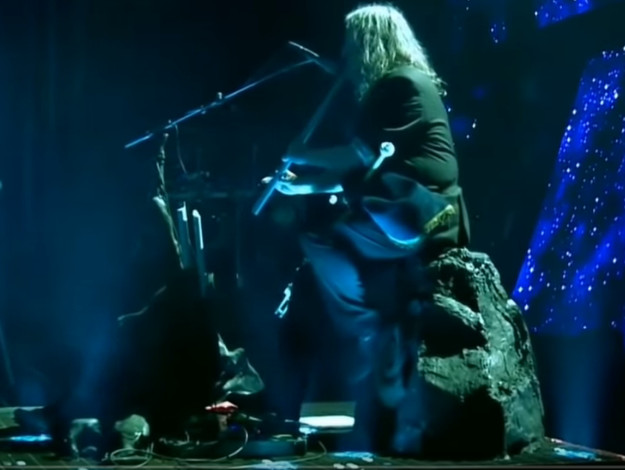
In order to create a realistic experience I looked at previous live performance of the band on YouTube. In their 2015 tour I noted the "earthy" feeling of the stage, including a wooden piece in front of the keyboards:
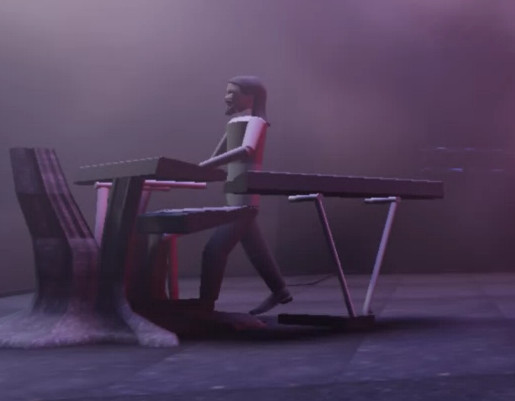
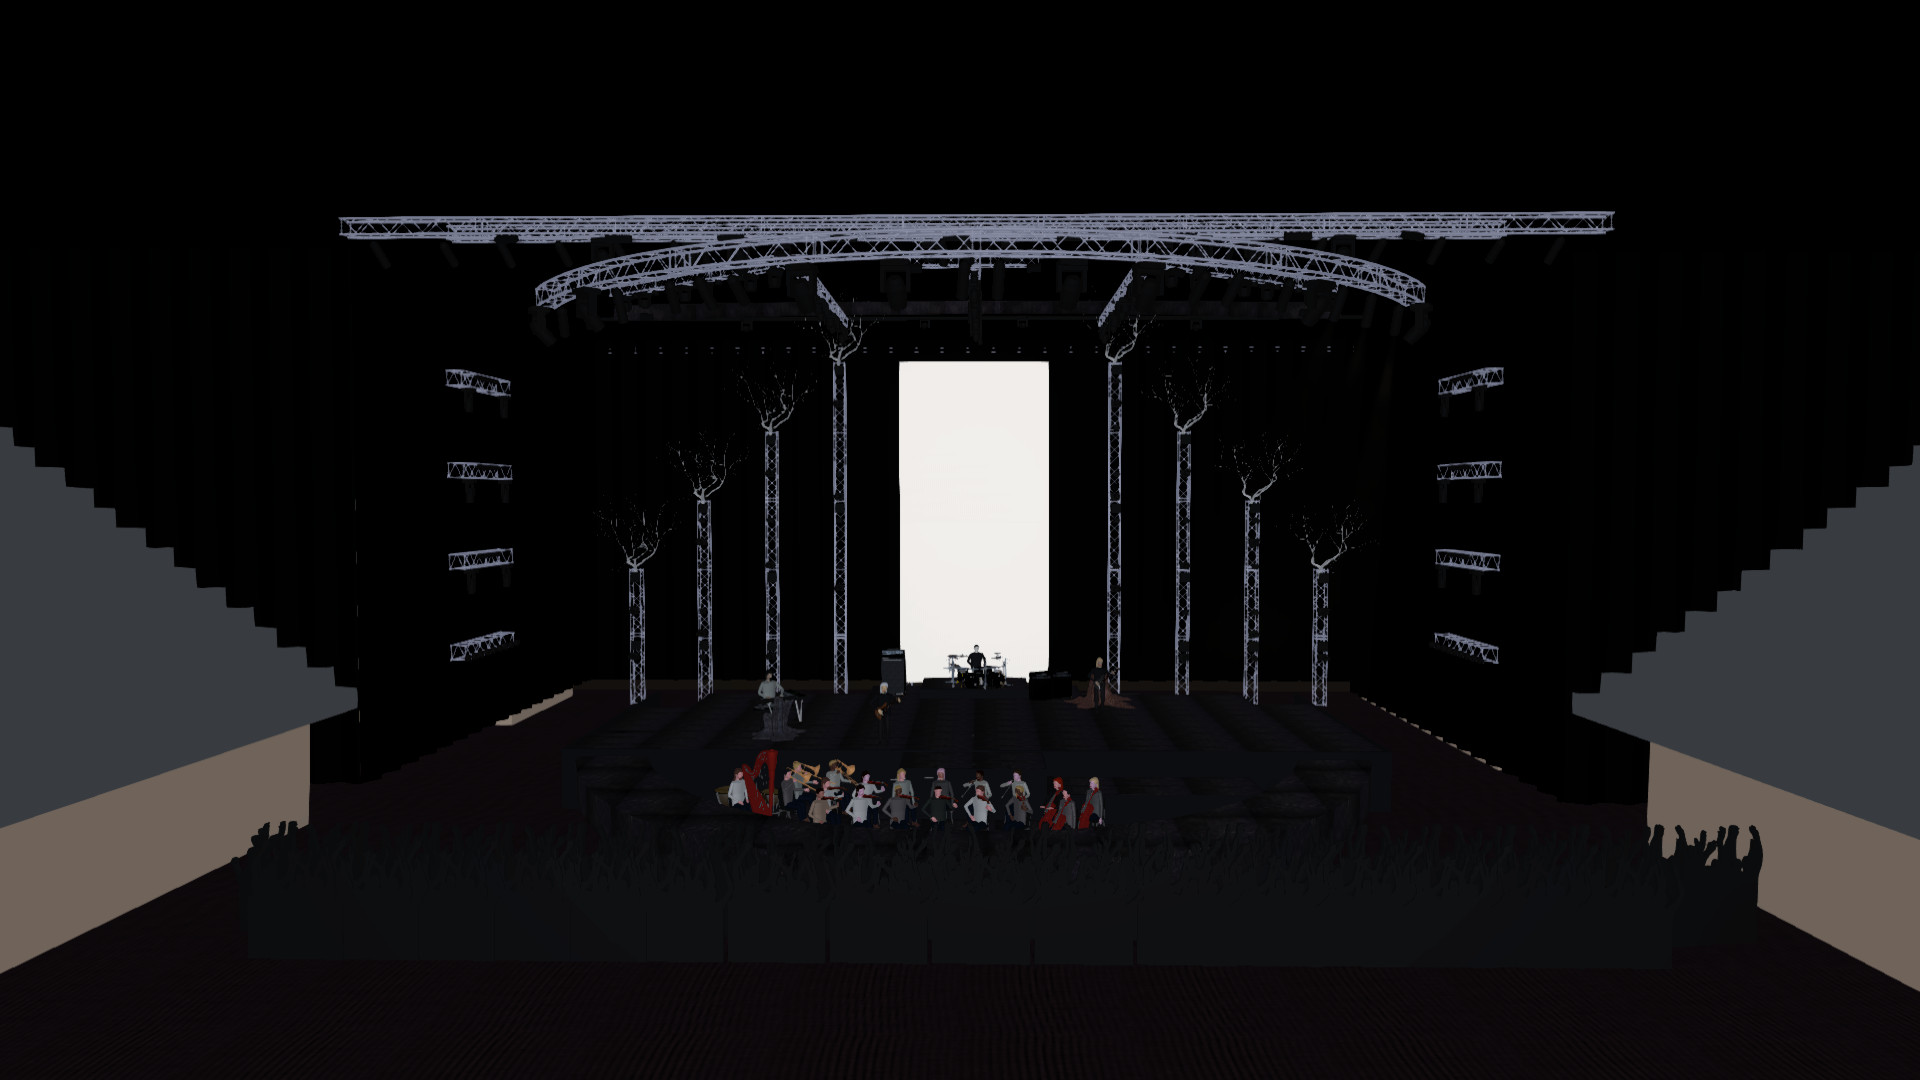
Since I did not want to model my layout exactly as theirs I only used the band layout (minus Troy as they don't feature pipes in their live performance) and these elements. I continued with the tree/earth theme by building truss towers along the back of the stage and added dead tree branches to the tops. I'm not usually a fan of big LED screens so I wanted to create a different feeling to a traditional wide screen and after drawing some inspiration from Rammstein's latest tour, I added an screen to the centre of the stage in one giant column. From listening to the piece previously I had always envisioned a guillotine in the climax of the Dark Passion Play section and I thought that the column would work beautifully for this purpose.
I also decided to add in an orchestra although they do not perform with one live. I liked the idea of creating a performance of their music incorporating live musicians similar to what Metallica did in their S&M DVD performance.
After constructing a relatively stock standard stage, I decided to create some interest by adding two arches, one downstage and one upstage. The downstage arch was used to encircle the orchestra and allowed the singer to move closer to the audience. I put the upstage arch on a DMX mover in Capture as I really wanted to create some movement in the stage. Initially I was going to have the arch rotate but in the end I decided that was too much as settled for straight up and down motion.
Finally I fleshed out remainder of the structure of the stage with trussing.
I tried to create the characters to loosely represent their real life counterparts but I wasn't happy with the Capture's actor model for Floor, so I found a free 3D model of a female and used that. Unfortunately it did not come as a rigged model and my skills in Blender are still rather immature so I couldn't pose her holding the mic but since most of the Capture actors in the orchestra weren't holding their instruments properly I decided it wasn't important. The texture for the model didn't work nicely in Capture so you will see the model doesn't have coloured eyes which makes the face a bit flat. I experimented with adding some forms into Capture for this but didn't get great results.
For the soloist cellist I used another free model I found online of a silent cello and also added a skirt to her to give some variety to all the similar models I had in the orchestra. I also added some other models such as drum kit and amps to fill out the stage a bit better.
Lighting Rig
Since we have a relationship with distributors to Elation I built the rig entirely with their fixtures. Maybe one day we can build it in real life :)
The final rig comprises:
- 9 Elation ACL Bar
- 32 Elation ACL Curtain
- 14 Elation Arena Par
- 38 Elation Artiste Davinci
- 12 Elation Artiste Picasso
- 18 Elation CUEPIX Blinder WW4
- 9 Elation CW Profile HP 26°
- 26 Elation CW Profile HP 19°
- 6 Elation DTW Blinder 350 IP
- 6 Elation DW Chorus 72
- 2 Elation Opti 16-4 CW
- 12 Elation Platinum FLX
- 36 Elation Platinum Seven
- 32 Elation Rayzor 360Z
- 56 Elation SixPar 200
Everything was controlled by a Chamsys MQ80 console while the media was handled by MagicHD sending into Capture via NDI.
Although not every generic fixture had its own channel I still used around 9 universes for control including the camera, DMX movers and the media playback. I wasn't sure how capable my system would be with this many fixtures so I ended up scrapping quite a few before the final list above including removing a bunch of FOH blinders.
As a quick break down the ACL Bars were used as FOH washes mainly on the downstage arch and orchestra, the ACL curtains washed the back travis behind the vertical truss towers while the Arena Pars lit the towers from the top and botom. The Davinci is the workhorse fixture located both overhead as well as on the towers. I also had a few fixtures on the underneath of the upstage arch itself although they are only used at the very beginning and end sections. The Picasso are all located on the front of house trusses. Although these fixtures do have shutters, I didn't end up actually using them for the final design.
The CUEPIX blinders are all located on the truss towers facing straight ahead, as are the Rayzor 360Z. I used the combination of profiles to create my front light as well as for specials on the drum kit, upstage arch, downstage arch and in the small thrust into the orchestra. The DTW blinders were on LX trusses above stage pointing to the audience while the DW Chorus was used on the three rows of truss off stage on OP and PS. Also on these trusses are the Platinum FLX
The Opti was used to fill in shadows on the singer and I was meant to add these in to a few other places but completely slipped my mind - in the end I went with the shadows being part of the mystique of the song ;). Finally the Platinum Seven and the SixPars are located on the overhead LX trusses. I liked the idea of having both a par can and a moving wash to mix between throughout the song.
Thanks to Capture's CITP protocol patching the fixtures into MagicQ was super easy and I only had one or two small changes to make to the patched heads before everything was running smoothly. Another godsend was the the head selection and click to focus. After creating my groups I could easily create position pallettes by using my mouse in Capture to focus the fixtures.
Design Approach
The song has quite a lot of meaning behind it referring to (and written by) Tuomas Holopainen, the band's keyboardist and songwriter with beautiful melodies that harmonise the meaning in the lyrics. The dark beginning of White Lands Of Empathica invokes the feeling of darkness and depression in the subject. The turmoil throughout the song is broken up by the clarity in The Pacific before breaking into even deeper turmoil in Dark Passion Play culminating in the climatic sound of a metal blade into silence. The final part Mother and Father bring a calmness and familiarity back into the world that has broken through the his internal struggles into peace.
I tried to mimic with both the emotive feeling of the lyrics and the pace and characteristic of the music with the lighting and creating visual juxtapositions of turmoil to calmness and clarity. I believe that lighting is an important tool in story telling on stage that does not always have to be super flashy in order to invoke feelings.
When I run timecoded shows I like to import the songs into Ardour and use that to generate my MIDI Time Code. While definitely not the best choice, it is consistent and works great for my needs to my machine.
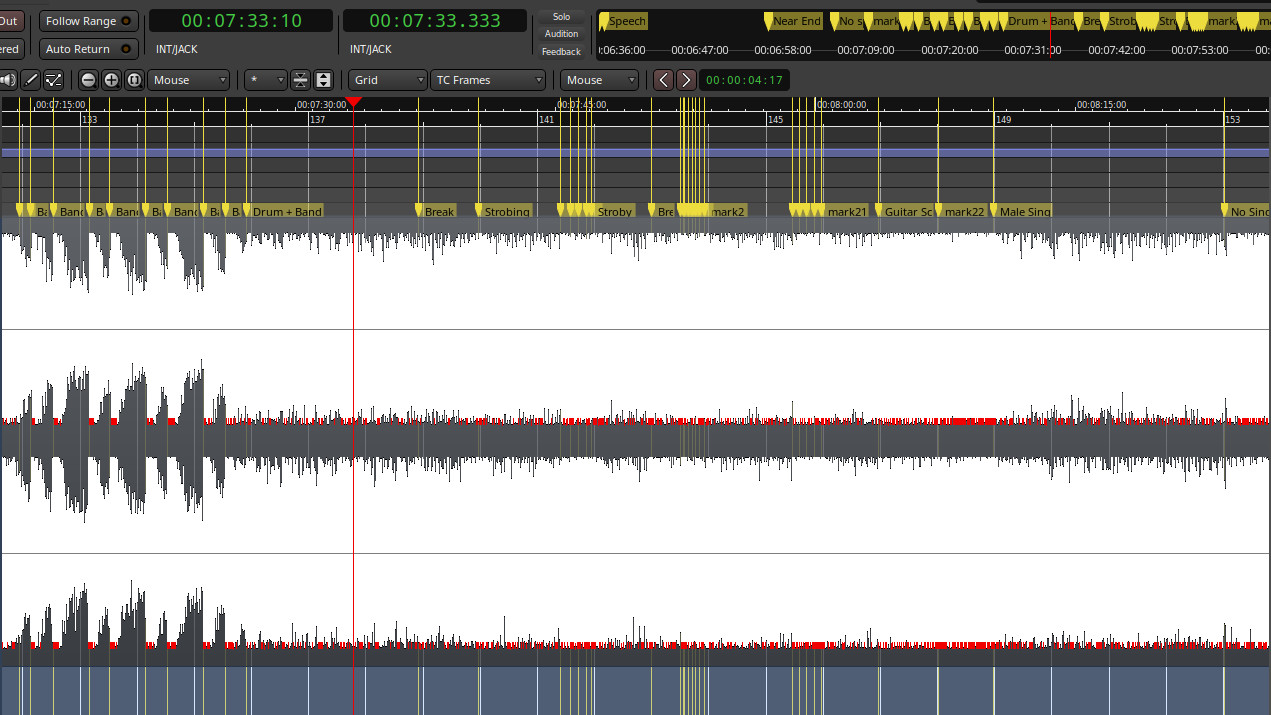
I first created markers throughout the timeline to note key areas where I wanted state changes or where flashes needed to happen. During this initial phase, I played around with different looks in Capture to get a feel for the song and how I wanted to structure the looks. The division of the song into its distinct components let me create contrasting scenes. After creating initial looks and running them manually, I added time code to the cues, filled in any gaps and continued to iterate on the design until I was happy with the result. I deliberately left the LED wall blank until after the initial lighting design although I already had some ideas of what I wanted projected this allowed me to make my colour decisions first and then find suitable content that matched the design afterwards rather than forcing my lighting to work with whatever content I already had available.
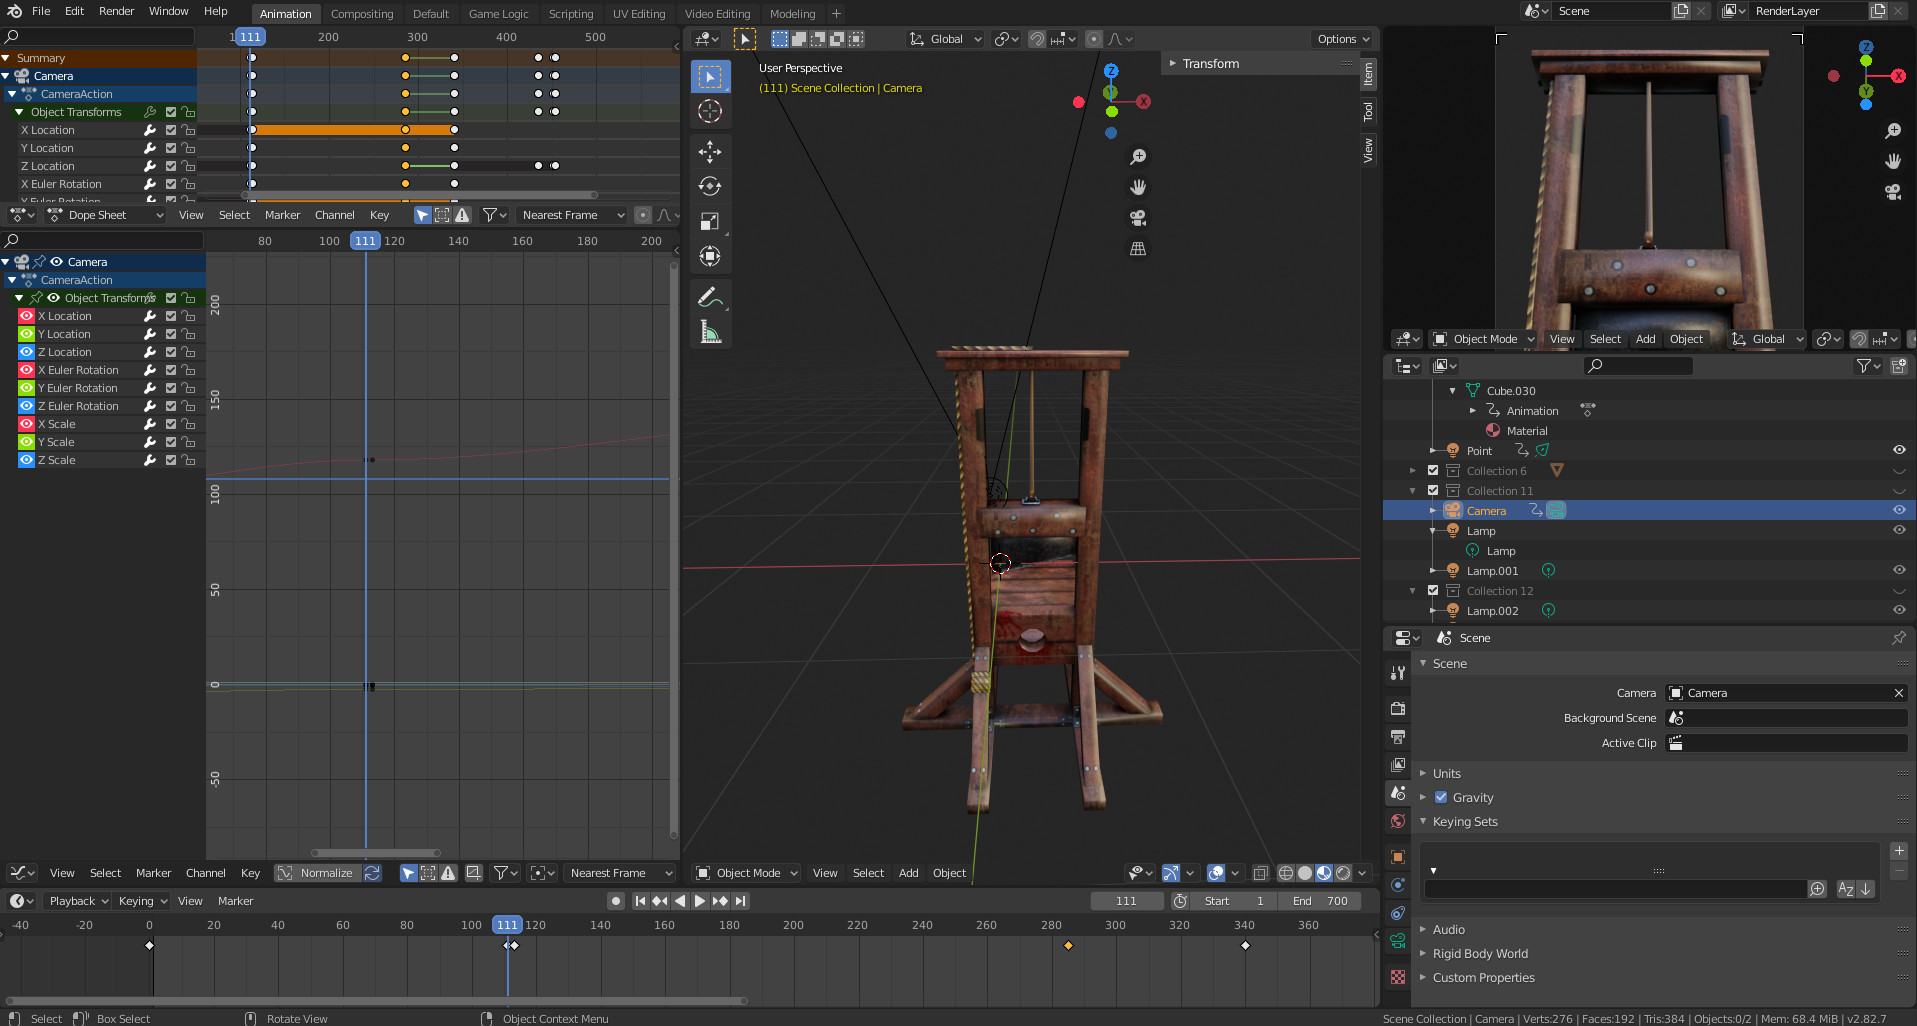
Although the song suggests a pendulum and the live shows do indeed have swinging axes in the video content I ended up using a guillotine as it was something I had always imagined in the song. I did end up having to animate a 3D model of one I found so that I could time the raising of it and its release to the track.
Finally after having a stable light and video show I added in the camera work - something that I had never really done in Capture much. Although most of the time I programmed from a front view, I liked being able to rotate around the room and see how the design changes from different perspectives. All too often I find myself not giving enough thought about the 3D space of the audience and this ended up being a great way to experience the same lighting in different ways.
Challenges
On the whole the process was largely smooth. I had some issues with my MagicQ console but managed to resolve it after replacing a faulty SATA cable. I also needed to do some clever management of my universes in order to have proper control of the all the fixtures which worked, although I would definitely recommend making sure you plan your rig accordingly with your Capture license and console's capabilities beforehand!
I found it difficult to think about camera angles and to plan nice shots and that does reflect in the way in which the camera moves around in the video. It was definitely a good challenge to learn how to take control of the camera and try and create some realistic movements. I was going to introduce some camera shake and blur to simulate pulling focus but it was taking too much time to get good results and while I think it might have being a nice touch I felt that it was not worth the amount of effort.
The biggest challenge turned out to be the rendering and movement of the band on stage. After capturing the final run I set the machine to dutifully render at 1920x1080. My poor 1060 worked diligently for almost 3 days before finally completing. The result looked great with one glaring exception - the band had forgotten to take the stage!

After some research and consultation with Capture I discovered that their scene feature does not work with the snapshots I took prior to rendering. To overcome this I created a bunch of DMX movers (And copies of some of the actors because I was lazy to work out all the movements so just stuck to moving actors vertically in and out of the scene) and re-created my scenes that way. That didn't stop a couple mistakes in the final render (disappearing actors while in shot) but hopefully it is not too noticeable.
There were a few other aspects of the project I didn't manage to complete. I wanted to integrate pyrotechnics and flames into the design. I started by looking at ways to get transparent video content into Capture which did work but had the side effect of stopping beams being projected through the transparent material. I also tried exporting my design into Blender in order to get the indirect lighting to correctly influence the scene in conjunction with Blender's particle system to create sparks from gerbs but ran into issues with exporting. I did overlay my rendered sparks into the video in post but I didn't like the look of the final result and with the changing camera angles I gave up on the idea. I would definitely love to see some kind of particle system introduced in Capture in the future (beside the water jet).
Conclusion
Overall I think the project was very successful and it was a great opportunity for me to try new things with the existing tools I had at my disposal as well as try things in new tools I had little experience in. There is a lot more that could be done to try and create realism in the pre-visualisation work but time ends up being an important factor and in reality there is little benefit to adding in lots of these fine points of detail for normal pre-vis work. In the future I may end up exploring some of the aspects I didn't get to try but until then I will mark this project as complete.